|
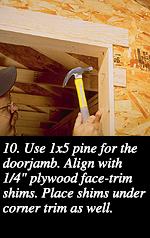
Install 1/4"-plywood trim spacers around the door opening and at the corners of the shed so that the 3/4" trim will cover the ends of the lap siding. Then, install the 1x5 doorjamb (fig. 10). Add the door face trim over the plywood and follow with the 1x4 corner trim. Use 8d casing or galvanized screw-shank nails.
|
||
|
|
|
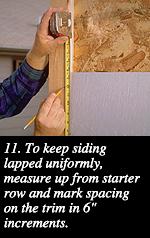
Nail 1/4" or 1/2" plywood spacer strips to the bottom of the sheathing and install the first siding row around the shed. Leave a 1/16" gap from where the siding abuts any trim and start the first row about 1/4" below the sheathing. Measure up from the starter row and mark the trim every 6" (fig. 11). Install the siding against these marks with 8d galvanized siding nails.
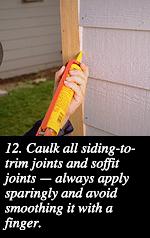
On the long walls, bring the siding up against the eave soffit. You'll need to finish the gable ends by trimming the final rows with angle cuts to match the roof pitch. Use a framing square or the roof truss jig to lay out the angle for the gable cuts. When you've completed the siding, caulk all joints between trim and siding and between soffit and siding (fig. 12). When the caulk skins over, prime and paint the shed.
|
||
![]()
© 1996 by The Hearst Corporation; all rights reserved